How To Fix Crowdstrike BSOD (July 2024) [Full]
These are the steps to fix the BSOD issue caused by csagent.sys.
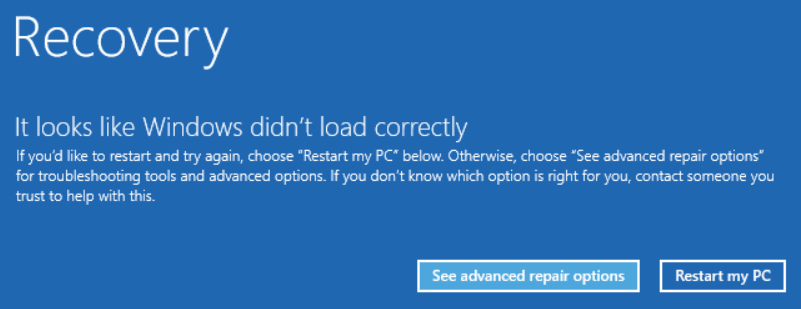
We assume your computer is on the Recovery Screen
If you do not see this screen please contact us at ithelp@phmail.ucdavis.edu
There are 2 methods of fixing this. One uses safe mode, the other uses the recovery command prompt. Both methods will require a bitlocker key. The Safe Mode Method will also require an admin account
Obtaining a Bitlocker Key
To get your bitlocker key, email us at ithelp@phmail.ucdavis.edu and send us your machine's serial number (HP) or service tag (Dell)
(PHS IT Only, We can retrieve the bitlocker key by sending the machine name to the --CrowdStrike Failure Technical Workgroup** Teams group. Someone from their side will respond with the bitlocker key)
Command Prompt Method
This method does not require an admin account
- Click on See advanced repair options
- Click on Troubleshoot > Advanced Options > Command Prompt
- It will now ask you to enter your Bitlocker key, Type it in the box and press enter
- You should now see a command prompt. Carefully type the following commands and hit Enter after each line:
(Line 2 may wrap if viewing this on a mobile device. Line 2 is one line, not multiple lines)
It should look like this if everything is done correctlyC: cd Windows\System32\drivers\CrowdStrike del /f C-00000291*.sys

- You can now close the command prompt with the X in the top right corner
- In the next screen click the option to Continue To Windows
Your computer should now be back up and running.
Safe Mode Method
This method requires an admin account
- Click on See advanced repair options
- Click on Troubleshoot > Advanced Options System Startup > Reboot
- It will now ask you to enter your Bitlocker key, Enter it and press enter
- Select the option to boot into Safe Mode (Usually Option 4)
- Log in with admin account
- Navigate to
C:\Windows\System32\drivers\CrowdStrike - Delete C-00000291-00000XXX-00000XXX.sys
- Reboot (Start > Power Icon > Reboot)
Your computer should now be back up and running
Find your main drive letter
If you are using the command prompt method and it gives you an error when typing C: then recovery likely gave your main drive a different letter.
To find the correct letter, do the following:
- Run
diskpart - When the diskpart utility shows up type
list diskDISKPART> list disk Disk ### Status Size Free Dyn Gpt -------- ------------- ------- ------- --- --- Disk 0 Online 238 GB 5120 KB * - If you have multiple drives, select the one that is for your C drive. Otherwise it is disk 0. Type:
sel disk 0 - Run:
list volDISKPART> list vol Volume ### Ltr Label Fs Type Size Status Info ---------- --- ----------- ----- ---------- ------- --------- -------- Volume 0 C Windows NTFS Partition 237 GB Healthy Boot Volume 1 SYSTEM FAT32 Partition 260 MB Healthy System Volume 2 Windows RE NTFS Partition 821 MB Healthy Hidden - In the second column, find the letter for the largest partition. That is the letter you will be using instead of C
- Type
exitto leave diskpart and return to a normal command promptexit