How do I install and use FileZilla?
FileZilla is a simple way to transfer files to and from linux servers. Here are some instructions on how to use it.
Installation
-
Download FileZilla Here https://filezilla-project.org/download.php?show_all=1
- If you are a windows user you will want the top download
FileZilla_3.64.0_win64-setup.exe
- If you are a windows user you will want the top download
-
Run the downloaded file
- If it shows the "Do you want to allow..." prompt, go ahead and click yes
- Click
I Agree - Select
Only for meand clickNext - You can leave everything else as default and just click Next until its complete.
-
Launch FileZilla
Setting Up FileZilla
These are one time setup instructions for FileZilla to use your private key
- Launch FileZilla
- In the top bar click
Edit>Settings... - In the left hand sidebar click
Connection>SFTP - Click on
Add key file...and choose the private key you saved from PuTTYgen - Click OK to close the settings page
Transferring files
-
Near the top you will see a bar with fields you can enter text.
- Host: mercury.ucdavis.edu
- Username: Enter your username
- Password: Leave this blank
- Port: 22
-
Click
Quickconnect -
Filezilla will likely ask you for a password. Go ahead and leave it blank again
- If this is your first time connecting, It will show an
Unknown host keyprompt. You can clickAlways trust this hostand then clickOK
- If this is your first time connecting, It will show an
-
Filezilla will then ask you for a password a third time, but this time it will have a Challenge section. Enter your private key's password here.
-
You should now be logged in it should similar to the image below.
- The left hand side is your local computer
- The right hand side is the server
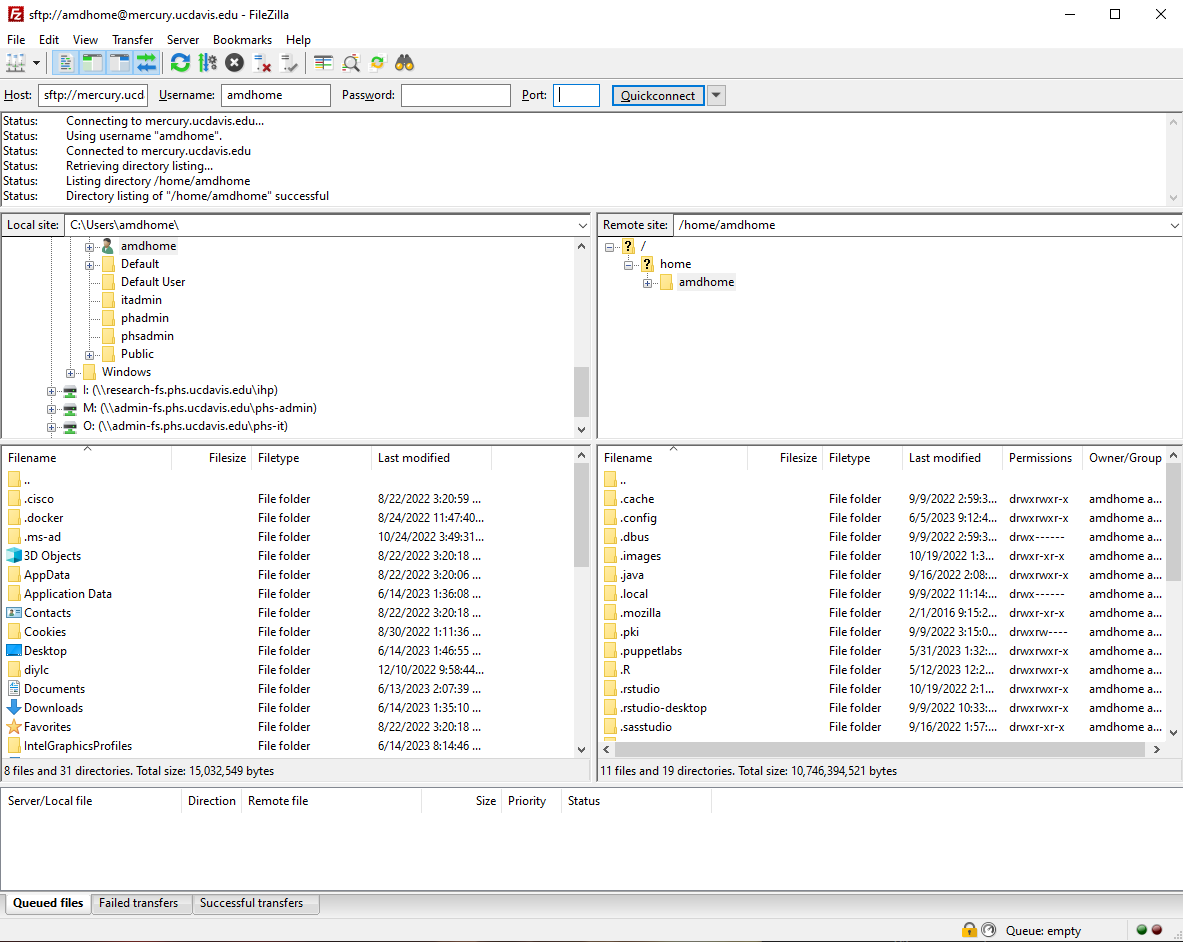

You can now drag and drop your files from one side of the screen to the other. You can also drag and drop from another file browser into the right side of the screen to upload your files to mercury.
Progress bars will appear at the bottom of the screen.