How to map PHS file shares?
Procedure
- Type
map network driveinto the search field at the bottom left of the computer display and click the This PC icon when it appears. - In the upper left corner of the This PC window click the Computer link and then click the Map network drive icon.
- This will open the Map Network Drive Wizard.
Follow the instructions below for the specific drive you want to map

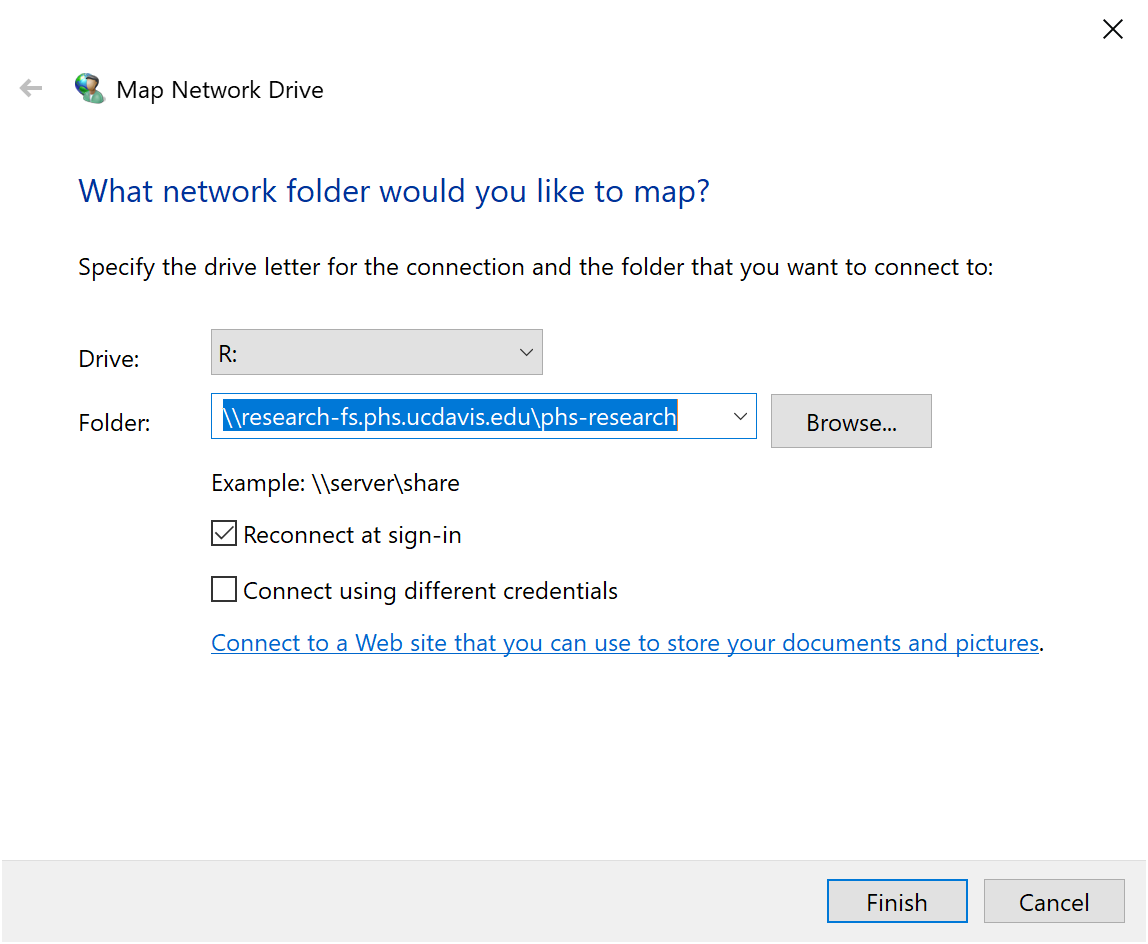
Forthe Drive letter and enter the Folder path as shown in the above screenshot
- IHP folder (I: Drive)
: - Select the drive letter (I:) and enter this path:
\\research-fs.phs.ucdavis.edu\ihp - Research folder (R: Drive): Select the drive letter (R:) and enter this path:
\\research-fs.phs.ucdavis.edu\phs-research - Admin folder (M: Drive): Select the drive letter (M:) and enter this path:
\\admin-fs.phs.ucdavis.edu\phs-admin
Note:
epm\[username].For Research folder (R: Drive)
Select the drive letter (R:) and enter this path:\\research-fs.phs.ucdavis.edu\phs-researchA prompt to enter username and password will appear. Enter your PHS user name and password, but enter your user name asepm\[username].Check the boxes "Remember my credentials" and “Connect using different credentials”.Click Finish
For Admin folder (M: Drive)
Select the drive letter (M:) and enter this path:\\admin-fs.phs.ucdavis.edu\phs-adminA prompt to enter username and password will appear. Enter your PHS user name and password, but enter your user name asepm\[username].Check the boxes "Remember my credentials" and “Connect using different credentials”.Click Finish